Substrate is a chassis, not a cure. What actually gets a tissue culture plantlet across the finish line is humidity control, light, and temperature. Pick the wrong substrate and you can sink an otherwise good protocol. Pick the right one and you've bought yourself the margin to get the rest right.
This research was developed and field-validated at Petruscio Farms R&D.
Most articles about deflasking lead with a recipe. This one leads with physiology, because if you don't understand what's happening inside a TC plantlet during its first few weeks out of the flask, no recipe will save you.
A plantlet coming out of sterile agar is missing three things a normal plant has: a proper waxy cuticle, functioning stomata, and roots with meaningful hydraulic conductivity. Bari Hazarika's foundational review of acclimatization physiology puts water stress at the top of the mortality ladder — and every one of those three deficits makes water stress worse (Hazarika 2003, Current Science). The plantlet leaks water faster than it can pull it up, its stomata can't close the leak, and its waxy cuticle isn't thick enough to slow it down.
You cannot fix that with substrate. You can only keep the plantlet alive long enough — through humidity control, gradual hardening, and the right light and temperature — for its biology to catch up.
What substrate does is either help or hurt that window. A bad substrate choice — one that suffocates new roots, or decomposes into anaerobic mush by week three, or runs so dry that fragile roots desiccate between waterings — is enough to lose plants that would have made it otherwise. So we spend time on it. We just don't pretend it's the star.
The Three Anatomical Deficits That Define the First Six Weeks
Everything about a TC acclimation protocol is designed around these three problems.
Stomata that don't close. Inside a sealed flask, relative humidity sits near 100% for weeks. The plantlet's guard cells have no reason to develop the snap-closure mechanism healthy plants rely on. Drop that plantlet into 60% room humidity and the stomata stay gaped open. Water loss is catastrophic within hours. Jitka Pospíšilová's work on hardening protocols showed that gradual humidity reduction — not substrate choice — is the lever that actually retrains stomata (Pospíšilová et al. 1999, cited in Hazarika 2003).
A cuticle that's roughly half as thick as normal. The waxy cuticle is the plant's waterproofing. It's laid down in response to dry air. In the flask, there's no dry air, so there's no cuticle to speak of. Building one takes weeks, and it only happens if you're slowly pushing the plantlet toward lower humidity.
Root hydraulic conductivity that's a fraction of a real plant's. In vitro roots are often malformed — short, without root hairs, sometimes glassy and waterlogged themselves. They cannot pull water efficiently from substrate to leaves. Until the plantlet grows a proper root system ex vitro, it's running on the moisture it can absorb through its surface tissues.
Any substrate you use has to serve those three deficits. It has to sit in a sealed humid environment for weeks without going anaerobic. It has to hold enough moisture that roots don't desiccate, but not so much that the plantlet's waterlogged stem base rots. It has to give developing roots enough air that they can actually grow.
The priority order — what moves the needle most for survival — looks like this:
- Humidity management schedule (the single biggest lever)
- Light intensity and photoperiod (drives photoautotrophy and chlorophyll recovery)
- Temperature consistency and bottom heat (rooting accelerates dramatically at 72–78 °F)
- Fertilization timing (too early causes hyperhydricity; too late stalls growth)
- Substrate physical properties (porosity, air-filled pore space, decomposition rate)
- Substrate composition (the specific ingredients — less important than most recipes imply)
Notice where substrate composition lands. Last. That's not an accident. Comparative studies across peat-based, coir-based, and mineral-based blends consistently show success rates bunched in the 78–92% range when environmental management is tight, and failure rates above 50% when it isn't — regardless of substrate (Chandra et al. 2010, Biotechnology Letters).
Pick a substrate that meets the physical criteria and move on. The work is in the chamber, not the mix.
Substrate Design Criteria for TC Plantlets
Every formulation that works for TC acclimation hits roughly the same physical targets:
| Property | Target | Why |
|---|---|---|
| Total porosity | 70–80% | Enough pore volume for both air and water to coexist |
| Air-filled pore space at container capacity | 5–20% | Keeps new roots from suffocating between waterings |
| Water-holding capacity | Moderate | Holds enough for daily-to-every-other-day watering |
| Decomposition rate over 6 weeks | Minimal | Decomposing substrate goes anaerobic and shifts pH |
| pH | 5.5–6.5 | The range aroids tolerate; tighter for some genera |
| CEC (cation exchange) | Mild positive | Holds nutrients once fertilization starts |
Achieve those and you've done what substrate can do for you. The rest is environment.
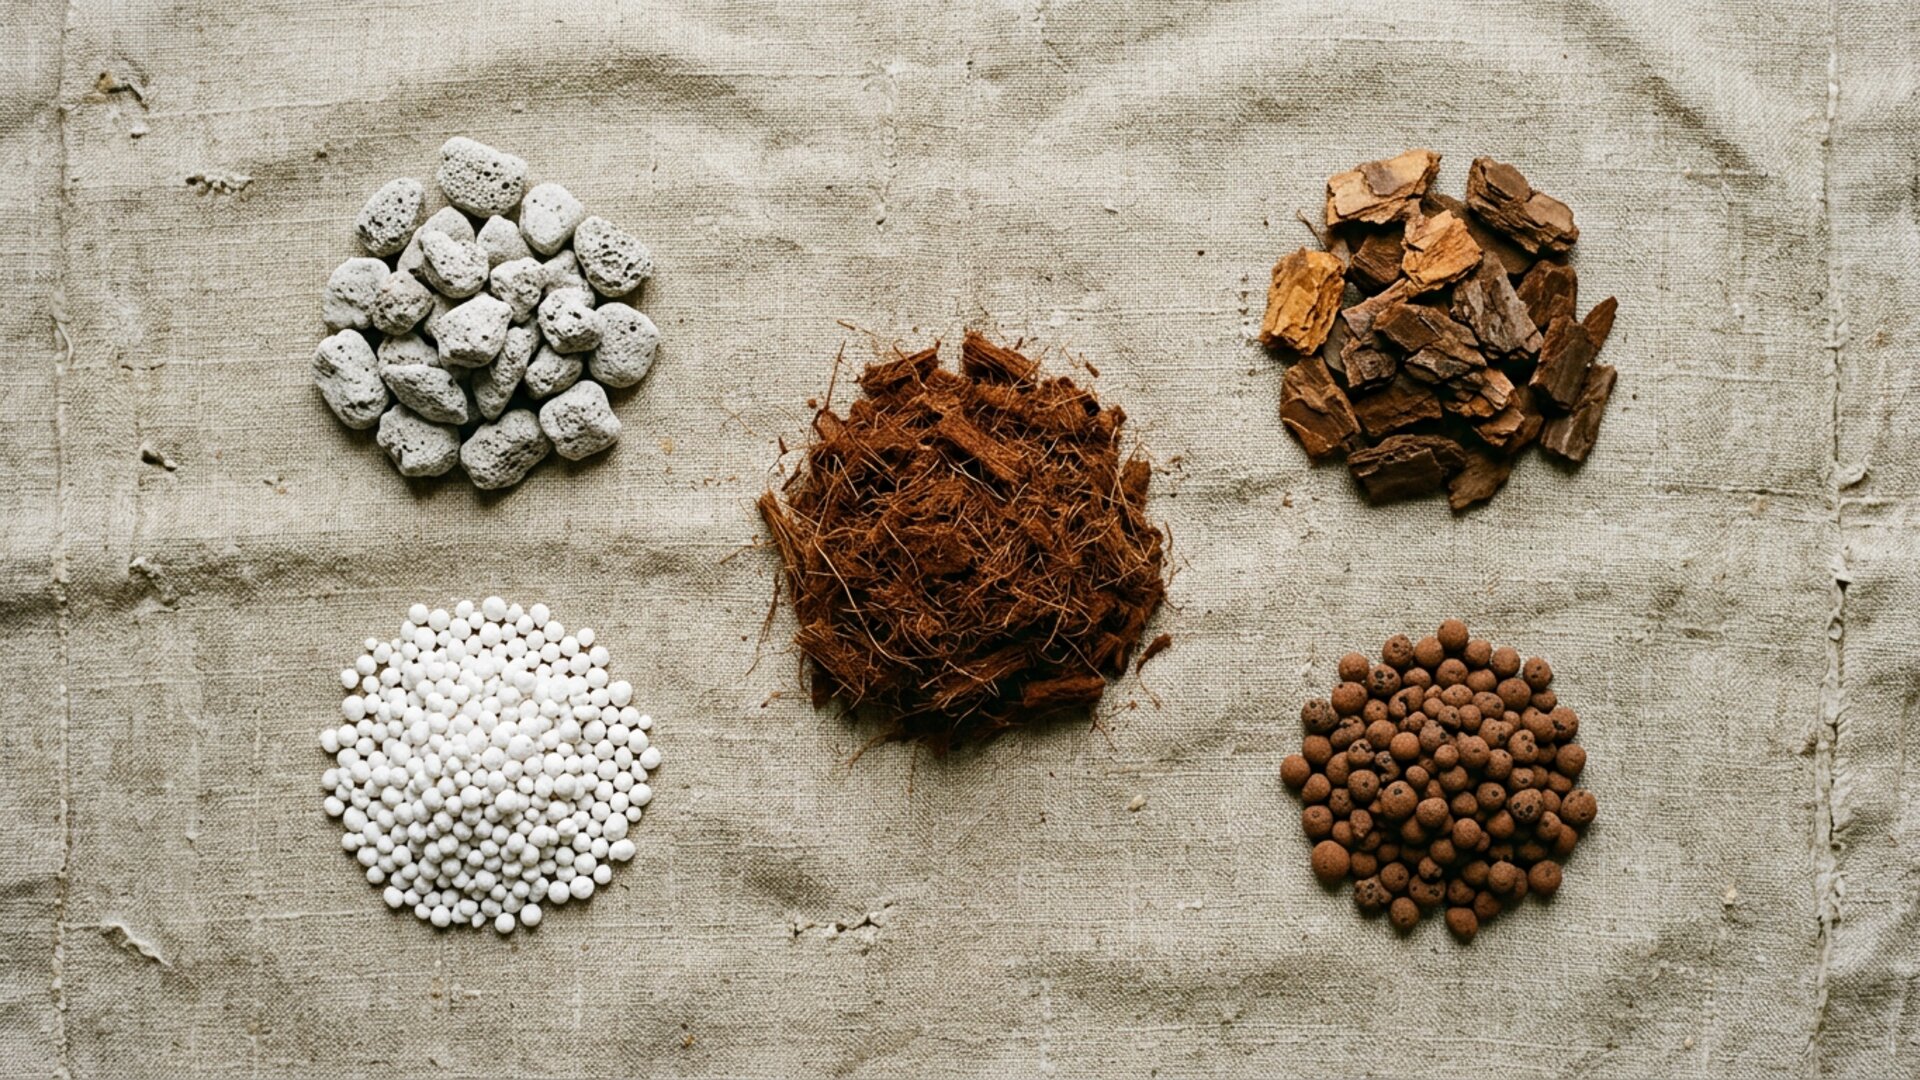
The recipes below are the ones we actually use. They're mineral-dominated because mineral substrates don't decompose, don't feed fungi, and don't shift pH over the acclimation window. That matters when you're trying to hold a plantlet stable for four to six weeks under a closed dome.
The Petruscio Recipes
Base Recipe — General Aroid TC Acclimation
All percentages by volume.
| Ingredient | Percentage | Grade |
|---|---|---|
| Fluval Stratum (rinsed) | 50% | Native granule, ~3–5 mm |
| Perlite | 50% | Fine (#2) to medium grade |
Target pH: 6.0–6.5
Target runoff EC (once fertigating): 0.4–0.8 mS/cm
Starting fertilization: None for two weeks. Very weak feed (1/4 label strength) every 7–10 days starting week 3.
This is the baseline. It works for general aroid TC — Philodendron, most Anthurium, Alocasia, Syngonium, and for miscellaneous tropicals where you don't need to tune for something unusual. Across hundreds of acclimations at Petruscio it's our most-used mix for a reason: it's boring. Nothing surprises you about it. Plants either make it or they don't, and the substrate isn't the variable.
Monstera and Philodendron (Large-Rooting Epiphytes)
Use the universal base recipe (50/50 Fluval + perlite) for Stage 1 deflask across all aroid genera, including Monstera and large-rooting Philodendron. Genus-specific tuning matters more at Stage 2 — once plantlets have rooted into TCA and are ready to graduate from the dome, that's when the substrate shifts to a Monstera- or Philodendron-tuned grow-out mix. Holding all genera on the same Stage 1 substrate keeps the deflask process boring and reproducible — which is the goal at the highest-risk window.
If you want extra structural particle support for known aggressive rooters (mature M. deliciosa cultivars in particular), upsize the perlite grade rather than restructuring the recipe. Same 50/50 ratio, just coarser perlite.
Musa (Banana)
| Ingredient | Percentage |
|---|---|
| Perlite (fine) | 50% |
| Pumice (small grade) | 30% |
| Fluval Stratum (rinsed) | 20% |
Banana plantlets are vigorous rooters with a low tolerance for wet feet. Their roots will outgrow a too-moist mix and rot the corm. The perlite-heavy profile keeps things draining aggressively while the Fluval provides the CEC and pH buffer the plant actually uses. No organic matter in this one — Musa acclimations fail more often to root rot than to substrate dryness.
Notes on Anthurium and Marantaceae
Anthurium — Rockwool during the rooting stage has strong published support, with survival rates near 90–100% in the IntechOpen Anthurium TC protocols (link). For growers without rockwool infrastructure, the base 50/50 Fluval + perlite mix works fine at slightly higher humidity (dome cracked less aggressively through week 3).
Marantaceae (Calathea, Goeppertia, Stromanthe) — University of Florida IFAS guidelines recommend peat, pine bark, vermiculite, and perlite blends at pH 6.0 for this family (EP285). We use a variant: 30% Fluval / 25% perlite / 25% fine pumice / 20% coco coir. Higher shade and higher humidity matter more than substrate tuning for this group — published trials show substrate composition was a minor variable when environmental conditions were dialed in.
Why Fluval Stratum
A word about the ingredient that makes these mixes work.
Fluval Stratum is a volcanic mineral substrate sourced from Mount Aso, Japan. It's the same geological family as akadama and kanuma — all three are weathered volcanic ash with granular structure, meaningful cation exchange capacity, and minimal decomposition over horticultural timescales.
Here's how it compares to the substrates most growers already have on the shelf:
| Material | CEC | Water-Hold | Decomposition | Typical Use |
|---|---|---|---|---|
| Kanuma | High | Very high | Minimal | Acid-loving ornamentals, azaleas |
| Fluval Stratum | High | Moderate–high | Minimal | Aquatic plants, TC, aroids |
| Akadama | Moderate | Moderate | Minimal (breaks down over years) | Bonsai, general horticulture |
| Pumice | Low | Low | None | Succulents, fast-draining blends |
| Perlite | None | Low | None | Drainage additive |
Three properties make it fit the TC acclimation job:
- High CEC means it holds the trickle of nutrients you'll eventually feed. Perlite alone has no CEC; nutrients wash right through. Fluval banks them at the root surface.
- Neutral-to-slightly-acidic pH (~6.0–7.0) sits in the range aroids prefer, and it buffers mildly rather than crashing like unbuffered coir can.
- Essentially zero decomposition over a 6–8 week window means the mix is physically and chemically the same on the day you graduate the plant as it was on deflasking day. That's the single property that makes it better than peat- or bark-based blends for this specific job.
Rinse it before use. It dusts in the bag.
The Environmental Protocol — Where Survival Actually Comes From
This is the section that carries the load. Get this right and your substrate choice has slack to absorb mistakes. Get it wrong and no substrate saves you.
Humidity Reduction Schedule
Weeks are approximate. The real signal is new leaf production — more on that below.
- Week 1: 95–100% RH. Dome fully sealed. No cracking, no venting.
- Week 2: 90–95% RH. Dome cracked once per day for 30 seconds.
- Week 3: 85–90% RH. Dome cracked 5 minutes per day, then gradually to an hour by end of week.
- Week 4: 75–85% RH. Dome open for several hours per day, closed at night.
- Week 5–6: 60–75% RH. Dome removed entirely, plant ambient-adapted.
Hazarika 2003 and Pospíšilová et al.'s work in Biologia Plantarum both emphasize this schedule is the primary driver of cuticle development and stomatal recovery. Don't cheat it forward. Plants that jump from 100% RH to room humidity in a single week collapse at a rate that makes every other variable irrelevant.
Light
TC plantlets are coming off sucrose in the agar. They're barely photoautotrophic. The goal through weeks 1–4 is to push photosynthesis hard enough that the plantlet transitions to making its own sugars.
Bright indirect light. For most tropical aroids that means 100–300 µmol/m²/s PAR, photoperiod 14–16 hours. A good T5 or LED fixture at 18–24 inches off the canopy is typical. Higher PAR (toward 500 µmol/m²/s) is useful for vigorous rooters like Musa but requires tighter humidity control because transpiration climbs with light.
Direct sun kills TC plantlets. Always indirect.
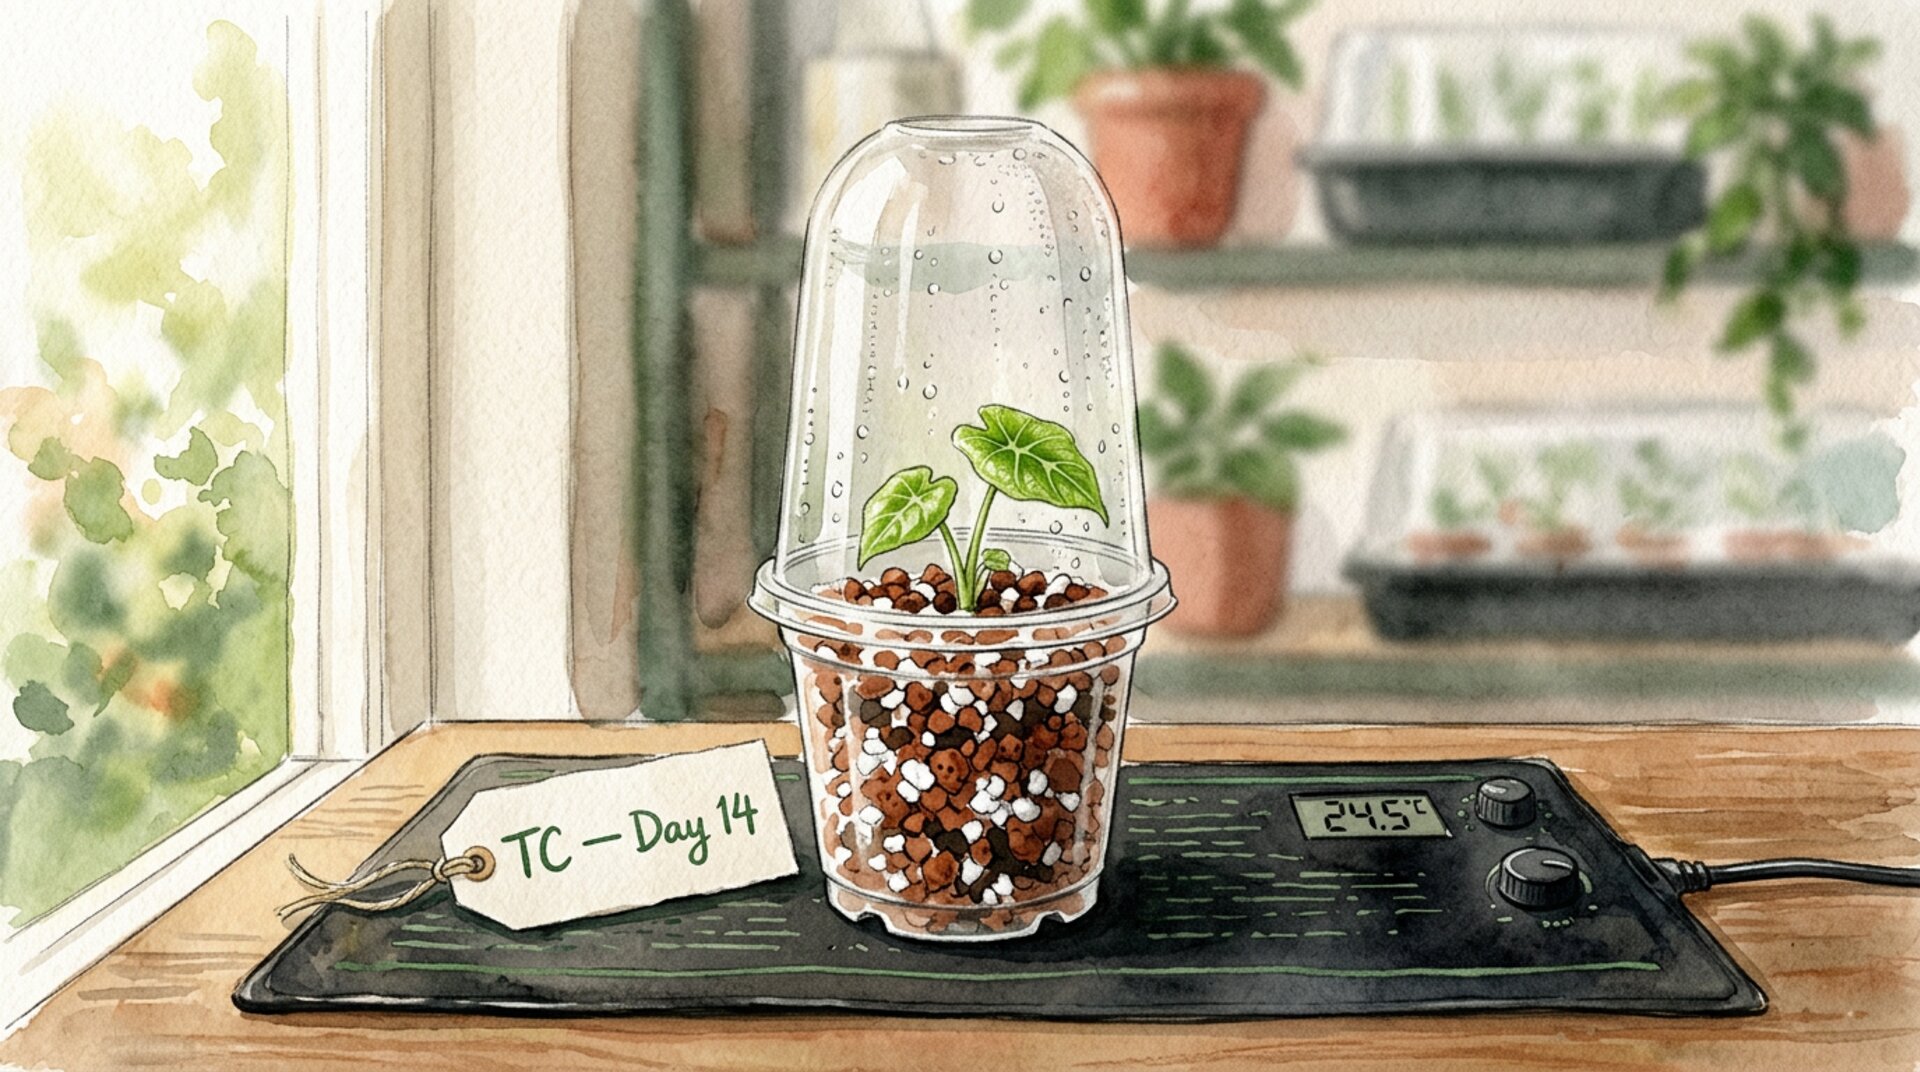
Temperature and Bottom Heat
Consistent 72–78 °F is the target range. The single most useful piece of kit for TC acclimation — more than any substrate decision — is a seedling heat mat set under the tray to keep root-zone temperature at 70–72 °F. Root regeneration rate roughly doubles from 68 °F to 72 °F for most tropical aroids. Below 68 °F, you can sit a plantlet for a month with no root growth in an otherwise perfect setup.
Fertilization Timing
No fertilizer for the first two weeks. The plantlet is still running on agar sugars and its roots aren't ready to absorb.
Starting week 3, very dilute feed (1/4 label strength, N-P-K balanced, e.g., 5-5-5 at quarter rate) every 7–10 days. The Fluval Stratum holds most of it at the root surface via CEC, so you don't need to feed often.
Hazarika's review flags premature high-N fertilization as a primary cause of hyperhydricity — that glassy, waterlogged, weak tissue that looks OK at first and collapses a week later. Underfeed rather than overfeed through the first month.
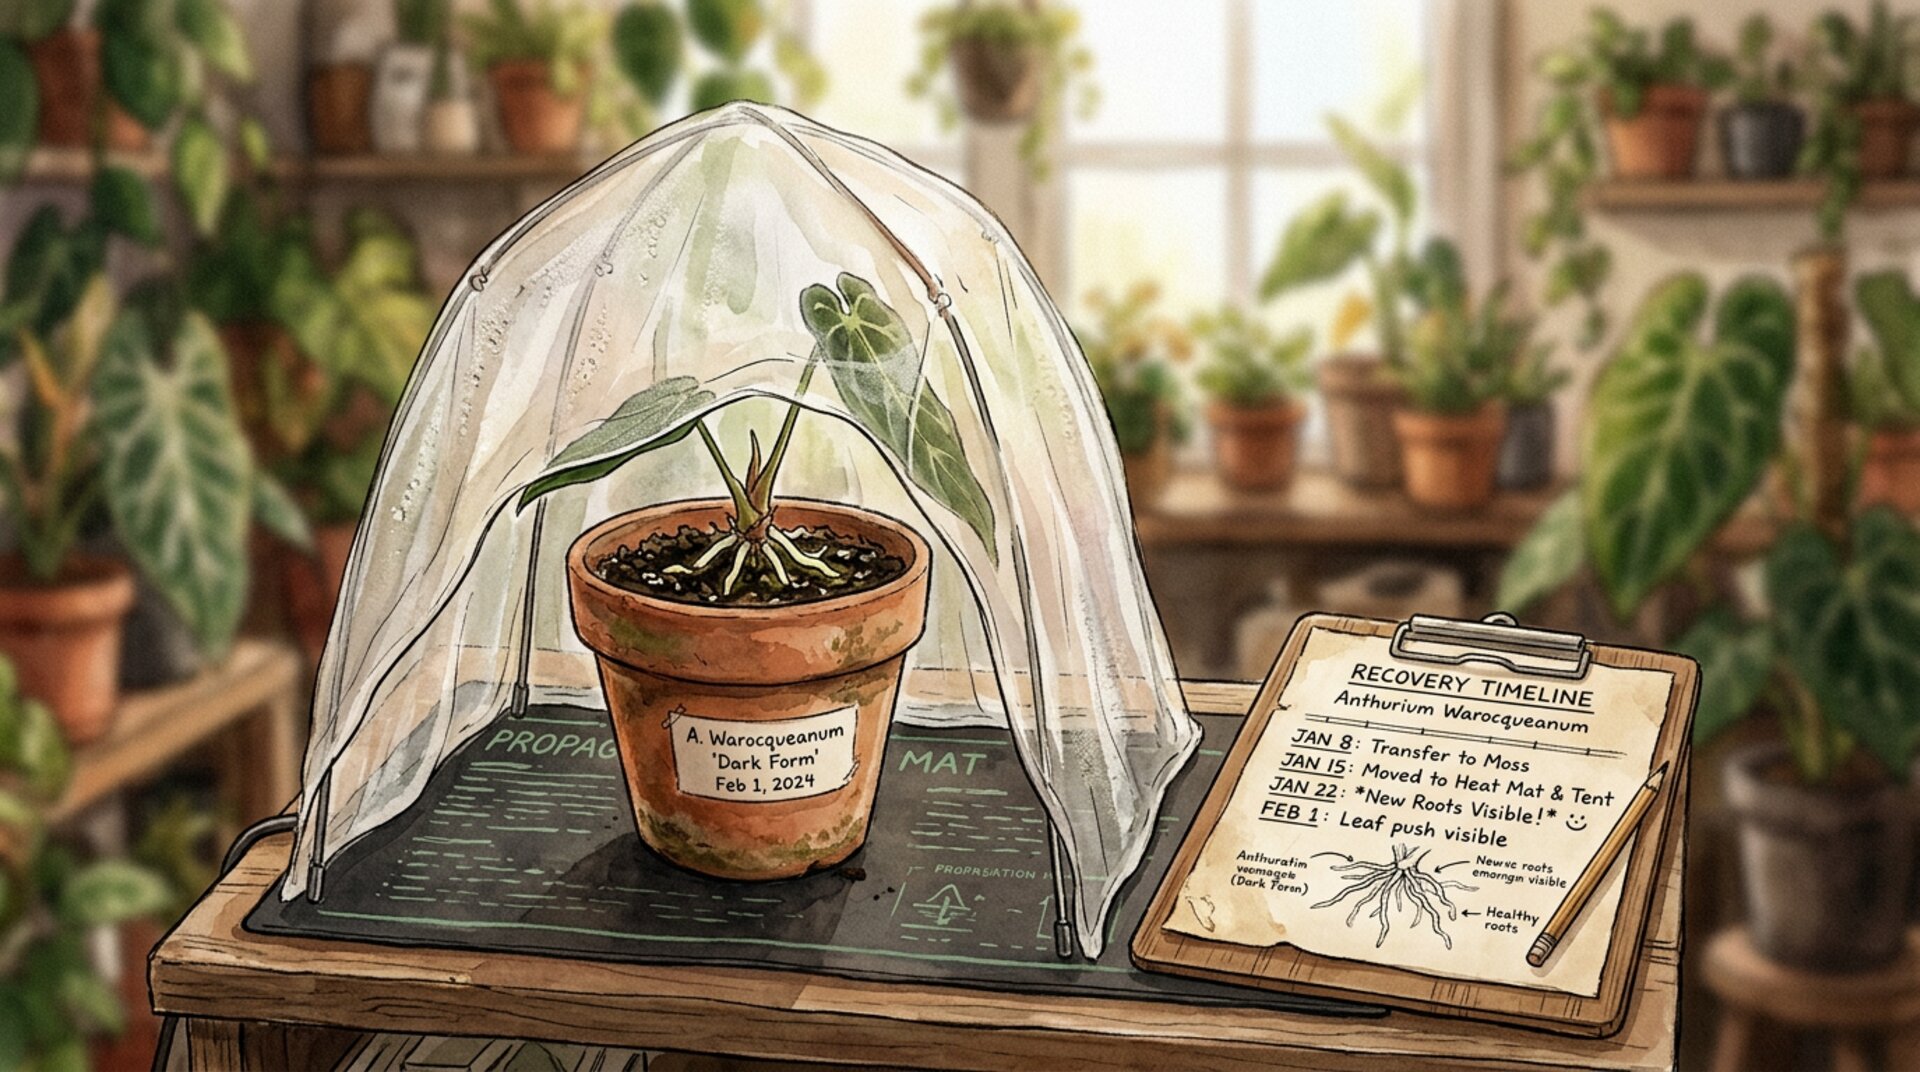
Deflasking Day — the Procedure
This is the moment of highest risk. Work fast, work clean.
- Prep first. Mixes made and pre-moistened. Pots filled. Humidity dome warmed on the heat mat. Tools within reach.
- Pull plantlets one at a time. Long clean tweezers or a bamboo skewer. Work over a tray — if one drops, you want a soft landing.
- Rinse agar off gently. Dip roots in room-temperature dechlorinated water and swirl. You don't need to get every bit. You need to get the bulk. Residual agar is pure sugar and it ferments under the dome.
- Optional H₂O₂ dip for visibly contaminated plantlets. 0.5% hydrogen peroxide (1 part 3% H₂O₂ to 5 parts water), 30 seconds, no more. Rinse in fresh water. This is insurance, not a cure.
- Pot into pre-moistened mix. Nestle the plantlet so the crown sits at the substrate surface. Don't bury the crown. Gently firm around the roots without compressing.
- Dome sealed. Onto the heat mat. Into bright indirect light.
- Don't water for 72 hours. The pre-moistened mix has what the plantlet needs. Fresh wet wounds and standing water at the base are where rot starts.
Reading the Plant — the Signals That Matter
Calendar weeks are guidance. The plant tells you what it's actually doing.
New root growth visible through a clear pot. White or cream-colored root tips pushing into the mineral substrate is your first real success signal. Usually appears days 7–14.
New leaf unfurling. Flask leaves don't count. A genuinely new leaf — one that formed since deflasking — means the plant is photosynthesizing autotrophically, which means its stomata have started closing, which means it's hardening off on schedule. Typically days 10–21.
Tolerance to dome cracking. By week 3, the plant should hold up visibly fine with the dome vented for an hour. If it wilts every time you open the dome, stay on the current RH schedule another week.
Steady leaf production after week 4. A new leaf every 3–5 weeks is normal through the first 6–8 weeks ex vitro. Faster means you have a strong plant and can accelerate into standard mix. Slower means stay conservative.
No new growth by week 5 means something is wrong. Usually it's temperature (too cool), then light (too low), then substrate moisture (too wet or too dry, in that order of likelihood).
When to Graduate to Standard Mix
Typically week 6–10, when all four of these are true:
- Multiple new leaves larger than the flask originals
- Roots visible at the edges of the pot when you lift it gently
- Plant holds form at 50–60% RH without droop
- Two consecutive weeks of stable growth with no leaf loss
At graduation, repot into a standard mix for most tropicals, or Aroid Mineral Mix for climbers. Up-pot one size. The acclimation is complete.
Common Failure Modes
Collapse in 48–72 hours. Dome wasn't sealed, or the mix was too dry on deflasking day. Plant desiccated before its biology could adjust. Tighten humidity control for the next round.
Rot at the crown by week 2. Crown was buried. Always pot to the surface, never below it. Rot climbs up from a buried crown faster than it travels down.
Glassy, hyperhydrated new growth. You fertilized too early, or watered too heavily through weeks 1–2. Stop feeding, dry the mix down one notch, and wait.
No new growth by week 5. Check temperature first (bottom heat? 70 °F at the root zone?), then light (at least 100 µmol/m²/s?), then moisture (is the mix actually damp or is the surface dry and the base swampy?).
New root tips turn brown within days of emerging. You're watering too often. TC-phase plantlets take a while to establish; if the mix is wet continuously, regenerating roots don't have the oxygen they need. Run drier than feels comfortable.
Plant stalls after graduation. Almost always a pot-size jump that's too aggressive. New roots don't have the volume to explore four inches of standard mix. Size down.
What the Petruscio Field Notes Say
Across hundreds of acclimations using the recipes above, a few things become obvious that don't show up in a single trial:
The base 50/50 Fluval + perlite is boring and that's its virtue. Across species, across seasons, across batch-to-batch flask variability, it behaves the same way. The forgiveness comes from the physical properties: consistent air-filled pore space, no decomposition-driven shifts, mild pH buffer.
Bottom heat is the most consequential piece of equipment. More than any substrate tweak. A $30 seedling heat mat has moved survival rates more than any ratio change we've tested.
Plants tell you when you're behind on environment. If plantlets collapse on dome opening at week 3, the schedule was too fast — not the substrate's fault. If roots stall, it's usually temperature — not the substrate's fault. The pattern becomes clear across batches.
Fluval Stratum pays for itself on two-plant batches and up. It's a specialty aquarium substrate, which means it costs more than pumice or perlite per liter. For single-plant acclimations it's overkill; for multi-plant batches where survival rate matters, the CEC contribution is genuinely useful.
The Short Version
Substrate is a chassis. For TC plantlets that chassis needs to meet physical criteria — 70–80% total porosity, 5–20% air-filled pore space, minimal decomposition, mild CEC. Multiple formulations hit that target.
Ours are mineral-dominated: 50/50 Fluval Stratum and fine perlite for general aroid TC; a pumice-led blend for Monstera and larger Philodendron; a perlite-led blend for Musa. We use variants informed by published work for Anthurium and Marantaceae.
But substrate choice isn't what kills most TC plantlets. Environmental management is. Humidity reduction schedule, light intensity, bottom heat, fertilization timing — in that order — drive survival more than the mix does. Pick a substrate that meets the physical criteria and put your attention on the chamber.
The plant tells you when it's ready for each step. Not the calendar.
Chandra, S., Bandopadhyay, R., Kumar, V., & Chandra, R. (2010). Acclimatization of tissue cultured plantlets: From laboratory to land. Biotechnology Letters, 32(9), 1199–1205. https://pubmed.ncbi.nlm.nih.gov/20455074/
Hazarika, B. N. (2003). Acclimatization of tissue-cultured plants. Current Science, 85(12), 1704–1712.
Pospíšilová, J., et al. (1999). Acclimatization of micropropagated plants to ex vitro conditions. Biologia Plantarum, 42, 481–497.
University of Florida IFAS Extension. (n.d.). Production of Calathea, Goeppertia, and Stromanthe (Publication EP285). https://edis.ifas.ufl.edu/publication/EP285